The one thing I do know is that I have to slap a checkered lambert on it to begin with!
I went into the texture editor and this image below shows the state of things to begin with:
I then selected all the faces of the main sofa cushion and isolated it so I could see what was going on. I then used a tool called planar mapping on the selected faces. This is a type of camera projection where it will lay out the UV's from the axis that I select. This gives me a good basis from which I can go on to unfold the UV's. Lovely.
The image below shows the planar mapped faces before I unfolded them.
I continued to do this for all the sides of the model and then unfolded them creating nice flat UV's!
I then used 'merge and move UVs' tool to connect the UV's in the editor so that I could continue the process into texturing!
And the image below shows the finished product. I had to do a bit of experimenting by selecting certain sides to see which bit matched up to another in the editor but it was a straight forward process.
I then transferred the attributes from the main cushion over to the other cushions as they were more or less the same size.
And the image below shows the chair ready for texturing!
I had a quick look on cgtextures before I found a couple of possibilities for the chair. I really liked the first one but I tried it out and it didn't really work that well so I took the second one and changed the colour of it to red in photoshop and it worked a little better.
I applied the texture to the main cushion first to test out how it would look and it seemed to be working fine. The chair is going in the last shot which is a really dark scene anyway so it coesn't need to be incredible quality, but it does have to look good.
I applied the texture to everything else, though I did spend some time hiding the seems in photoshop.
I played around with the bump settings and did a quick render but the bump values were set too high and it looked really odd! Below:
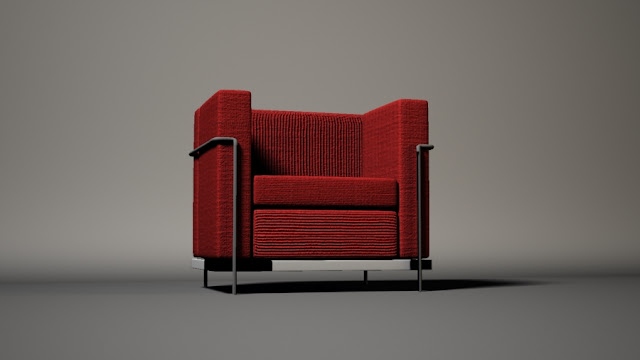
I went back and changed the bump value by turning it down and played around with that for a while but the render below shows the final settings and I actually think it looks pretty good!


No comments:
Post a Comment